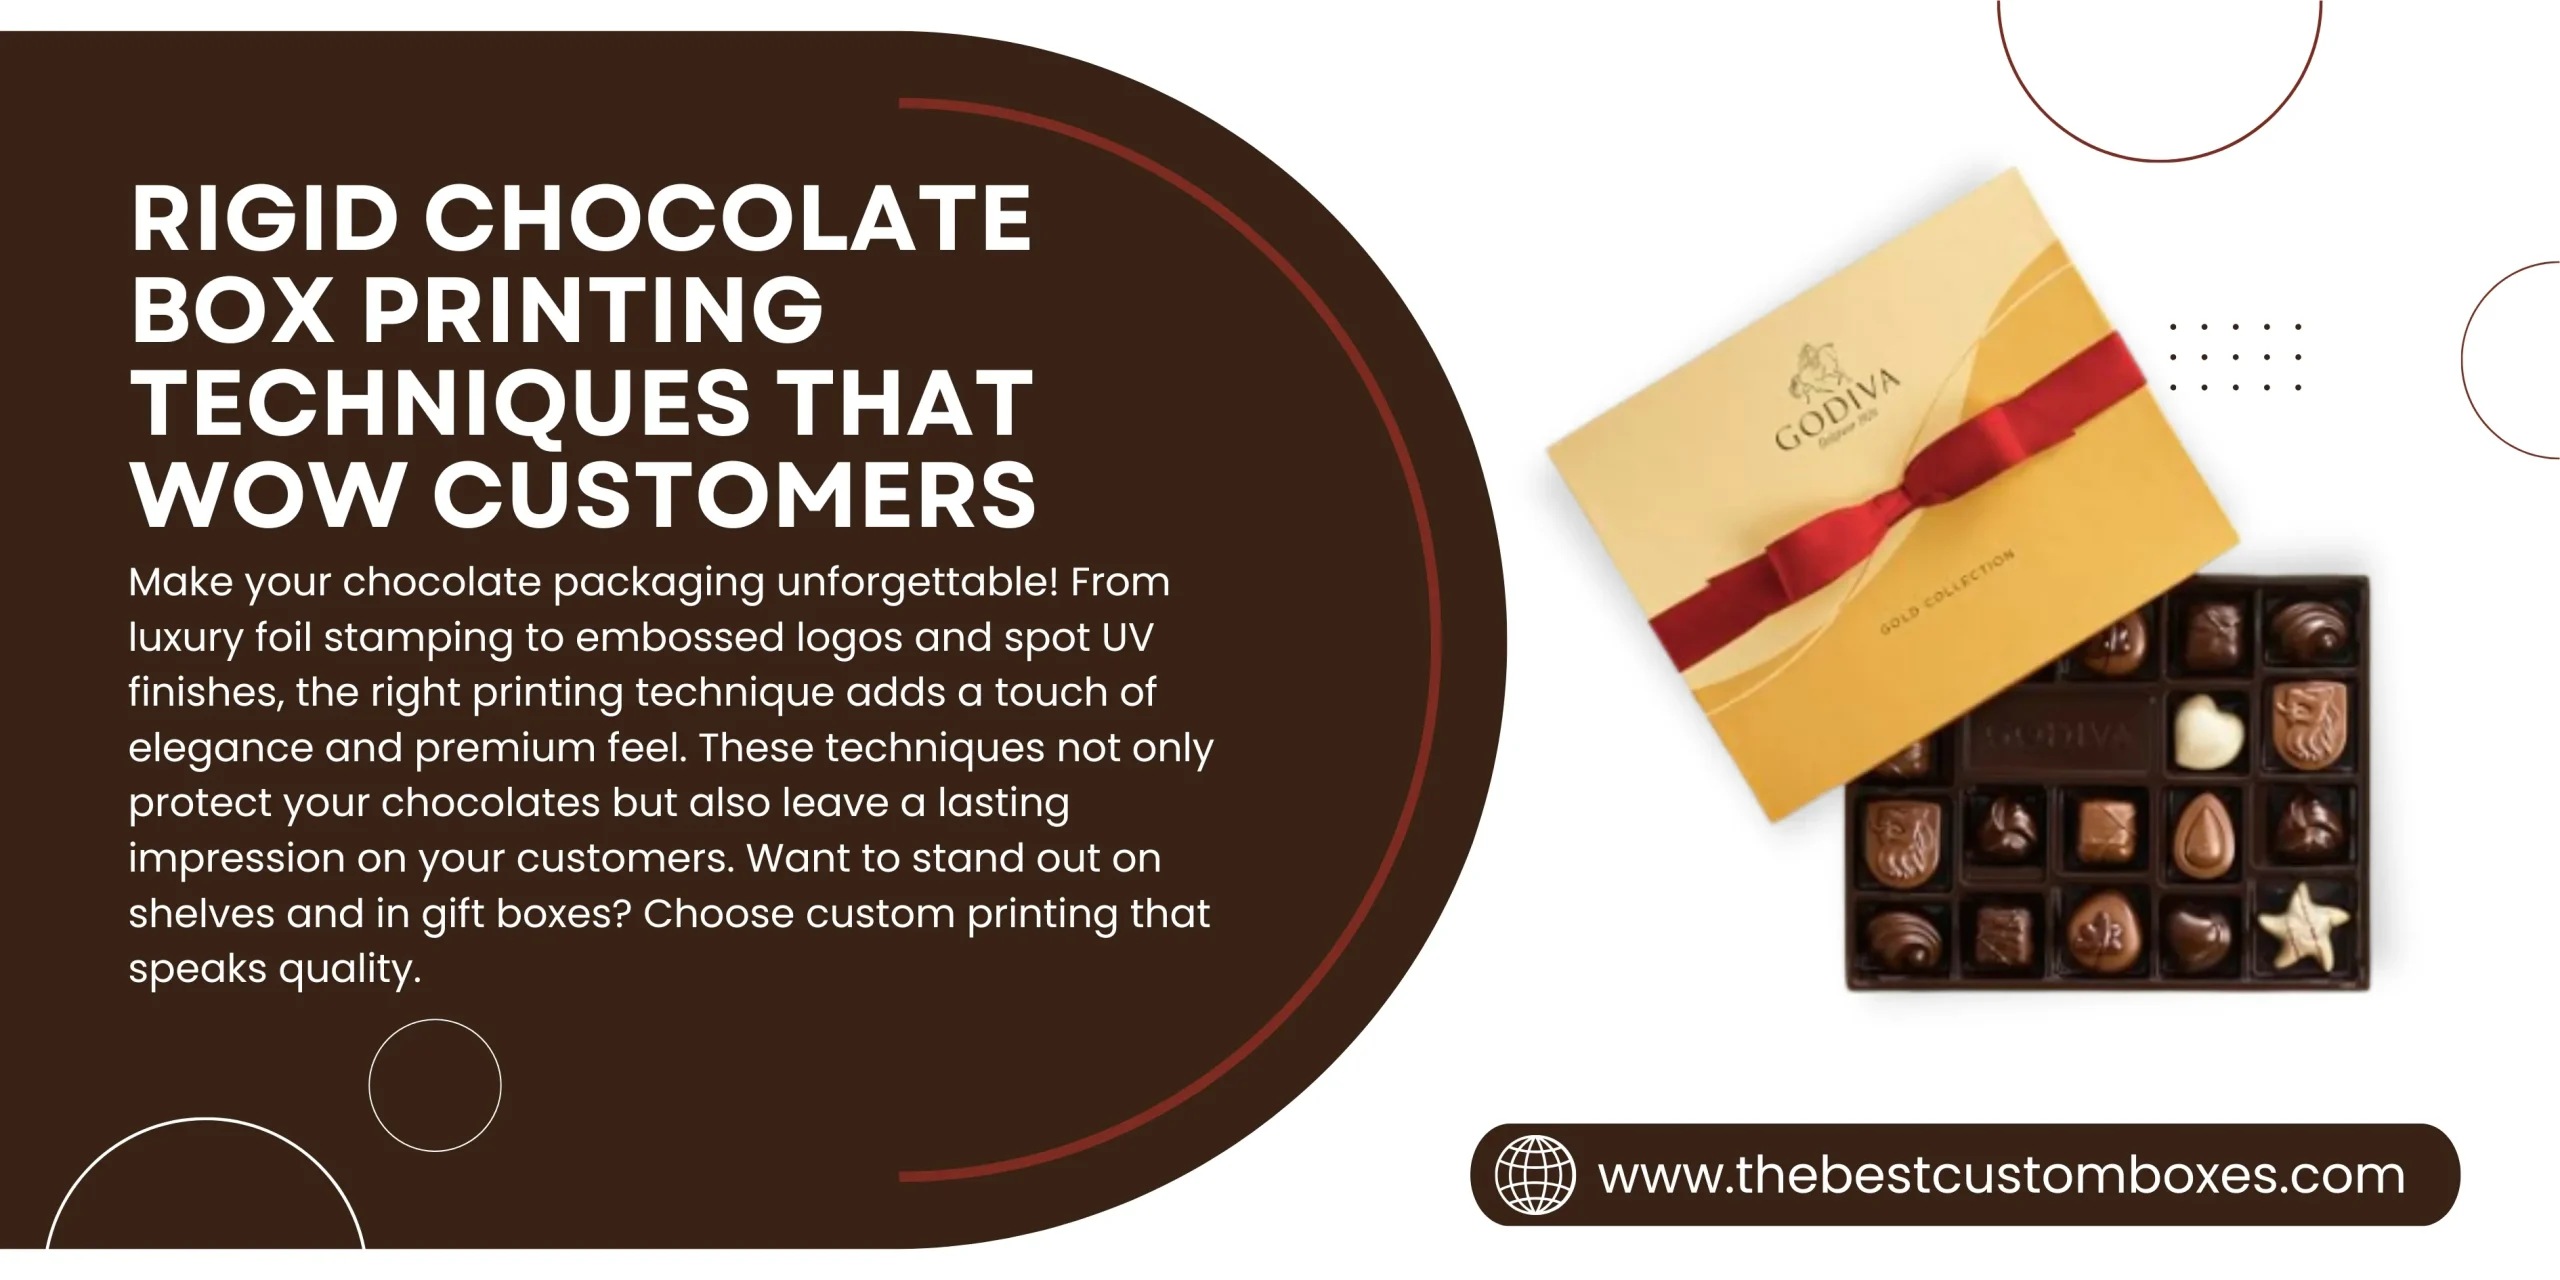
When someone takes up a box of chocolates, they notice the box first. A printed box can make your chocolates appear more distinctive. It can help your brand differentiate, express your personality and make a good first impression.
This post looks at rigid chocolate box printing techniques that wow customers. You’ll discover fresh trends, clever design recommendations, and the actual time it takes to print unique boxes.
We’ll also address common enquiries and help you determine what’s best for your brand.
What Makes Printing on Rigid Chocolate Boxes So Important?
Printing is more than simply adding a logo. A box feels exceptional when its design, colours, and finishes are just perfect. Your box becomes an integral element of the gift rather than simply a container.
Today’s printing options include:
1. Bright and gentle colors
2. Smooth or textured finishes?
3. Shine, sparkle, or color-changing ink.
4. Raised logos or letters (embossed or debossed)
A well-printed rigid gift box communicates to your customers that your chocolate is of excellent quality before they take a bite.
If you want to learn how environmentally friendly these boxes can be, read this:
👉 Are Rigid Chocolate Boxes Eco-Friendly?
Seasonal Color Shifting – Thermochromic Inks For Holiday Chocolate Boxes:
Thermochromic inks are inks that change colour in response to temperature variations. They are perfect for holiday themed boxes. For example a snowflake may appear when the box is cold or it may shift from silver to blue when touched.
This is an excellent way to surprise your customers and make your package appear fantastic. These inks are ideal for limited edition or seasonal chocolate box packaging. They provide a fun twist without requiring a complete design revision.
How Much Bleed Space Do Rigid Chocolate Box Prints Need?
When designing a box bleed space refers to the small area surrounding the design on the edges. It makes sure that the printed colours extend to the sides of the box, even if the paper slips slightly during the cutting process.
Most printers recommend that rigid chocolate boxes packaging have a ⅛ inch (or approximately 3 mm) bleed area on each side. This applies to both the exterior wrap and the inner print (if any).
Without bleed space, your box may have tiny white lines around its edges. It is a simple change but it typically improves the appearance of your package.
How Long Does Custom Chocolate Box Printing Typically Take?
Printing your box takes time, but not as much as you may expect.
Here’s the overall timeline:
| Step | Time Needed |
| Design approval | 1 to 3 days |
| Printing and setup | 5 to 7 business days |
| Finishing (coating, folding) | 3 to 5 business days |
| Delivery | 3 to 7 business days |
Most custom box printing tasks take between two and three weeks to complete. If it is a large order with unique inks or finishes it may take a little longer.
Working with skilled printers keeps things on track. The Best custom boxes provide expedited delivery options for urgent orders.
What to Watch For When Printing Chocolate Boxes?
Here are a few basic suggestions to help your printed boxes look great
1. Use high resolution artwork for printing that looks sharp and clear.
2. Choose a paper or wrap material that matches your brand (glossy, matte or textured).
3. Start by testing your design on a tiny quantity.
4. If you are unsure ask your supplier for print samples to review.
Do you want to be bold? To make your chocolate box packaging differentiate more then try adding a ribbon or a small window.
Final Thoughts:
Smart printing may transform a simple box into something that customers remember. Rigid chocolate box printing procedures that impress clients do not need to be complicated. Simple changes like thermochromic ink or proper layout can take your packaging to the next level.
With the right colours, materials and finishes your box can become an important part of the experience rather than just packaging.
Let your box represent your brand. Please keep it simple, straightforward and innovative.